
- There are multiple ways for inserting images at Trix:
- The default way for inserting an image is done by pasting the image URL
using an old-fashioned pop-up:
- Click the location in the editor where you want to insert the image.
- Click on the “Insert” button from the editor toolbar.
- Choose “Image” from the appeared dropdown menu, a pop-up will appear.
- Paste the image URL into the location field, optionally, you can set the title and .description fields.
- Click the “Enter” keyboard button
- Pasting copied content from the web
- Pasting images by drag-n-drop
- Another way, that needs a custom javascript code, is by placing an uploading image button outside the editor
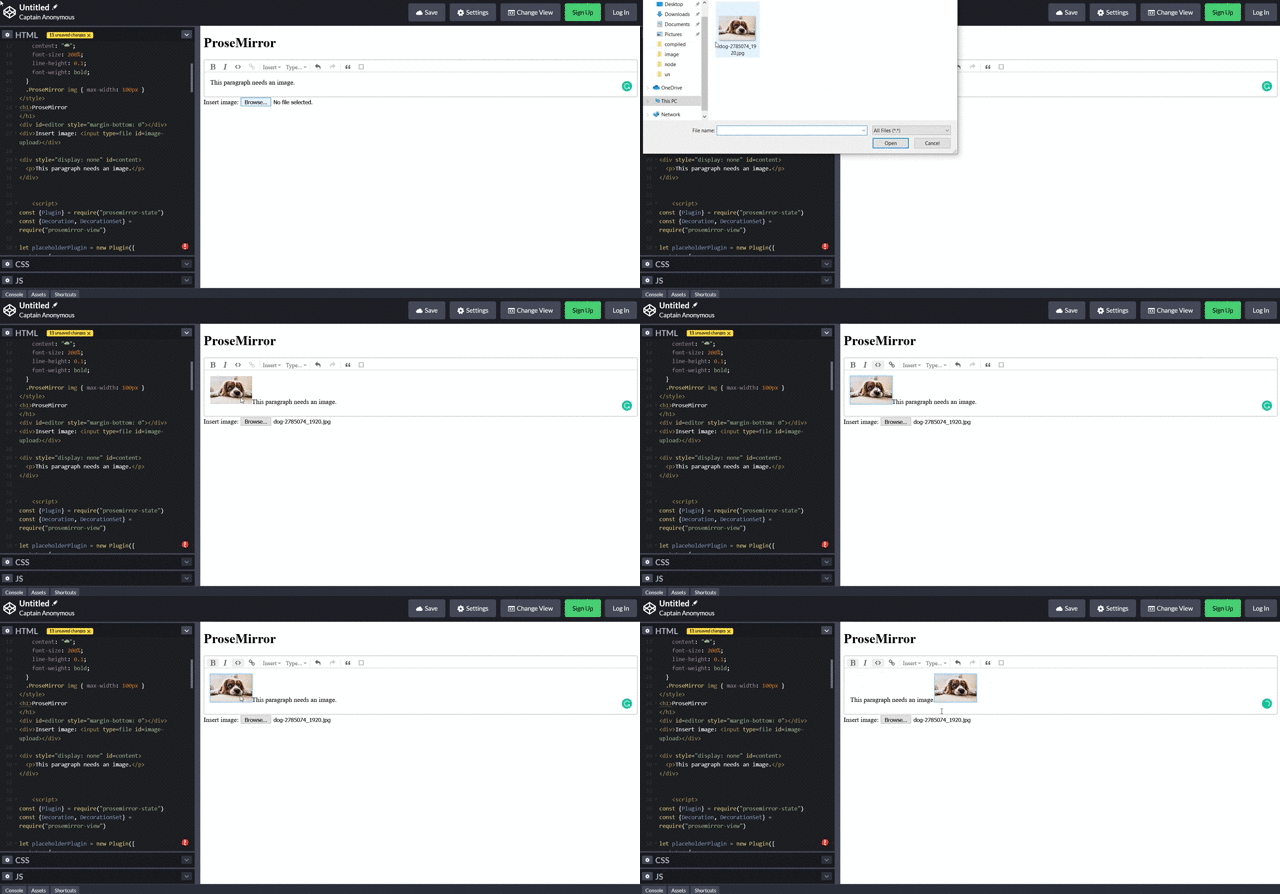
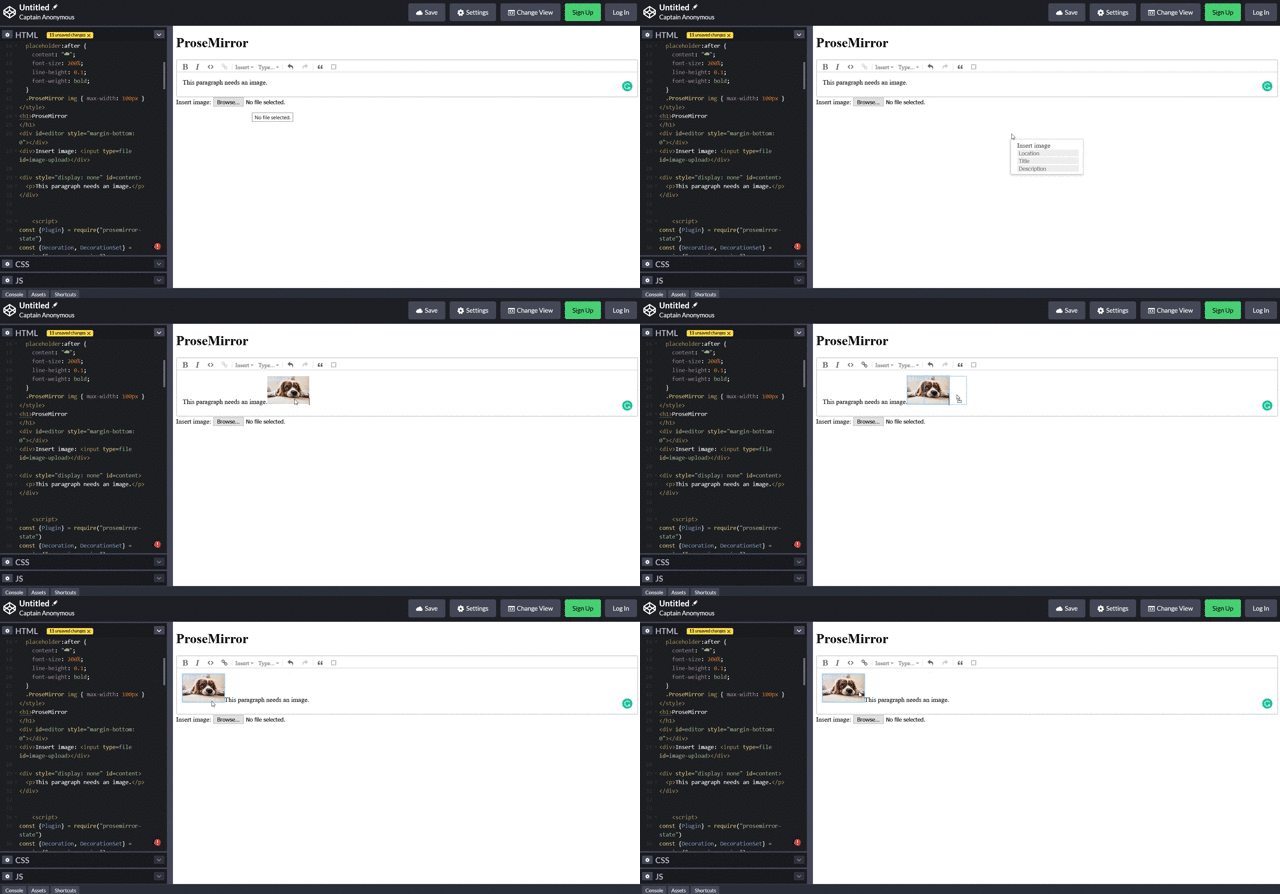
- After inserting image to ProseMirror editor there is no options to edit it
-
Images can be dragged to a new location by clicking in the center of the image
and dragging.
- Images can be deleted using the backspace or delete keyboard buttons.
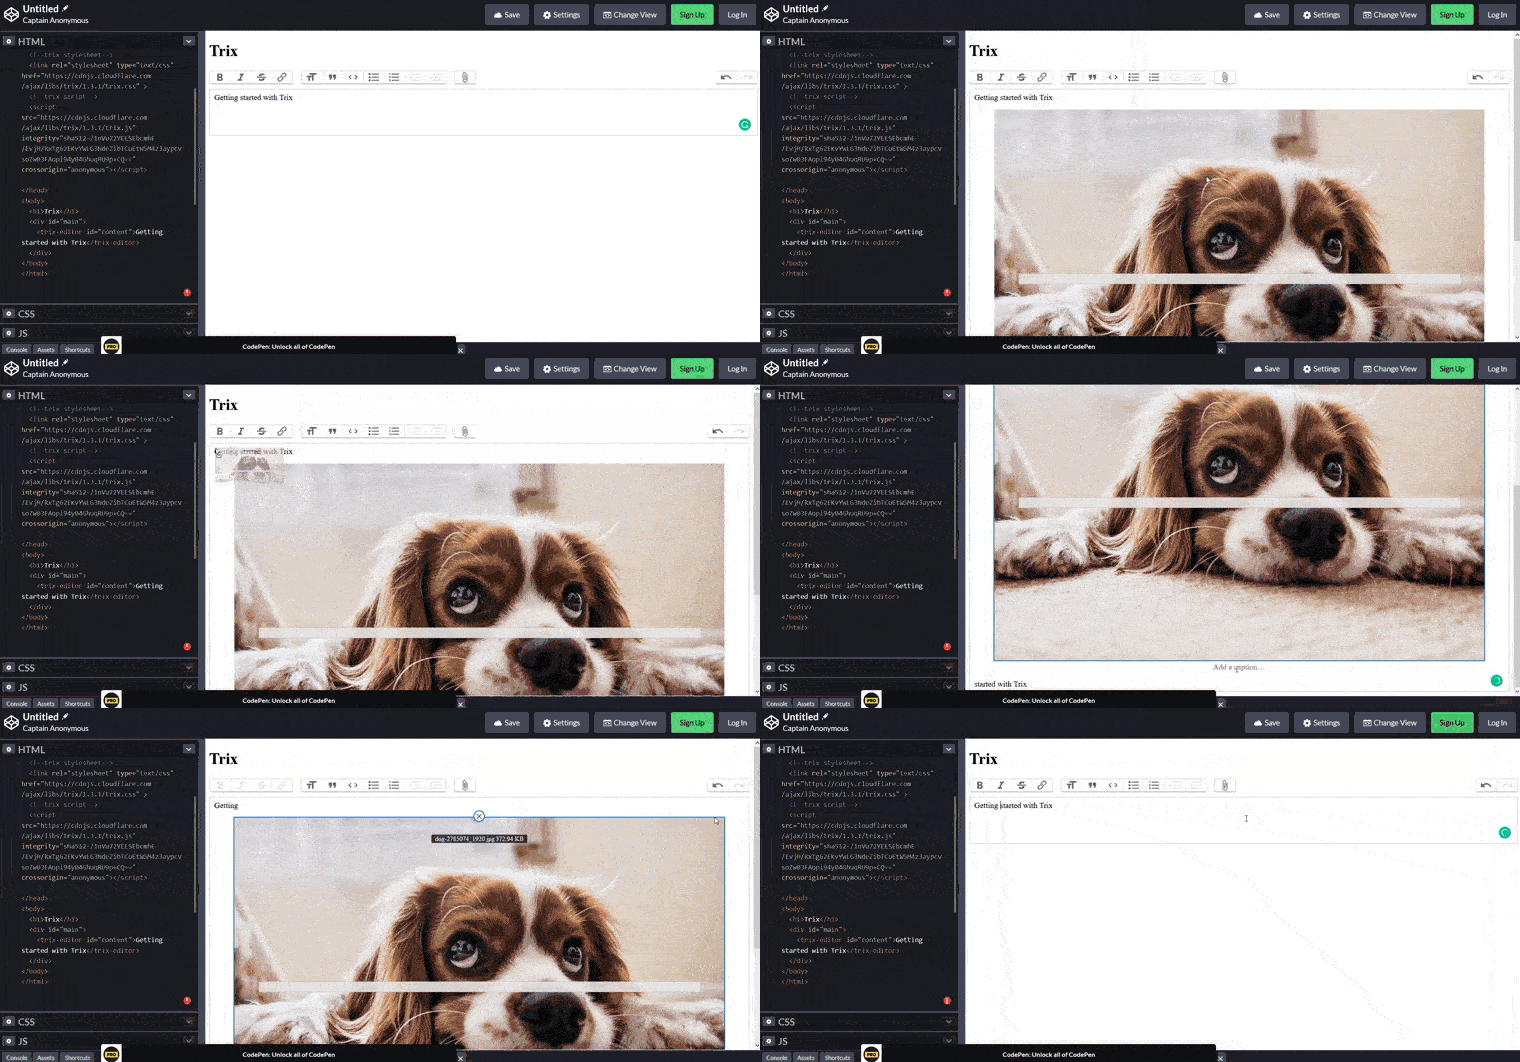
- There are multiple ways for inserting images at Trix:
- Uploading file from the device:
- Click the location in the editor where you want to insert the image.
- Click on the “attachment” icon from the editor toolbar.
- Choose the Image file.
- Pasting copied content from the web
- Pasting images by drag-n-drop
- Images can be dragged to a new location by clicking in the center of the image
and dragging.
- Click on the image.
- “Add a caption” placeholder will appear under the image
- Write a caption
Animated Trix to Froala editor migration demo showing rich text editing interface.
- Click on the image.
- A delete button will appear on the top of the image.
- Click on the image delete button.
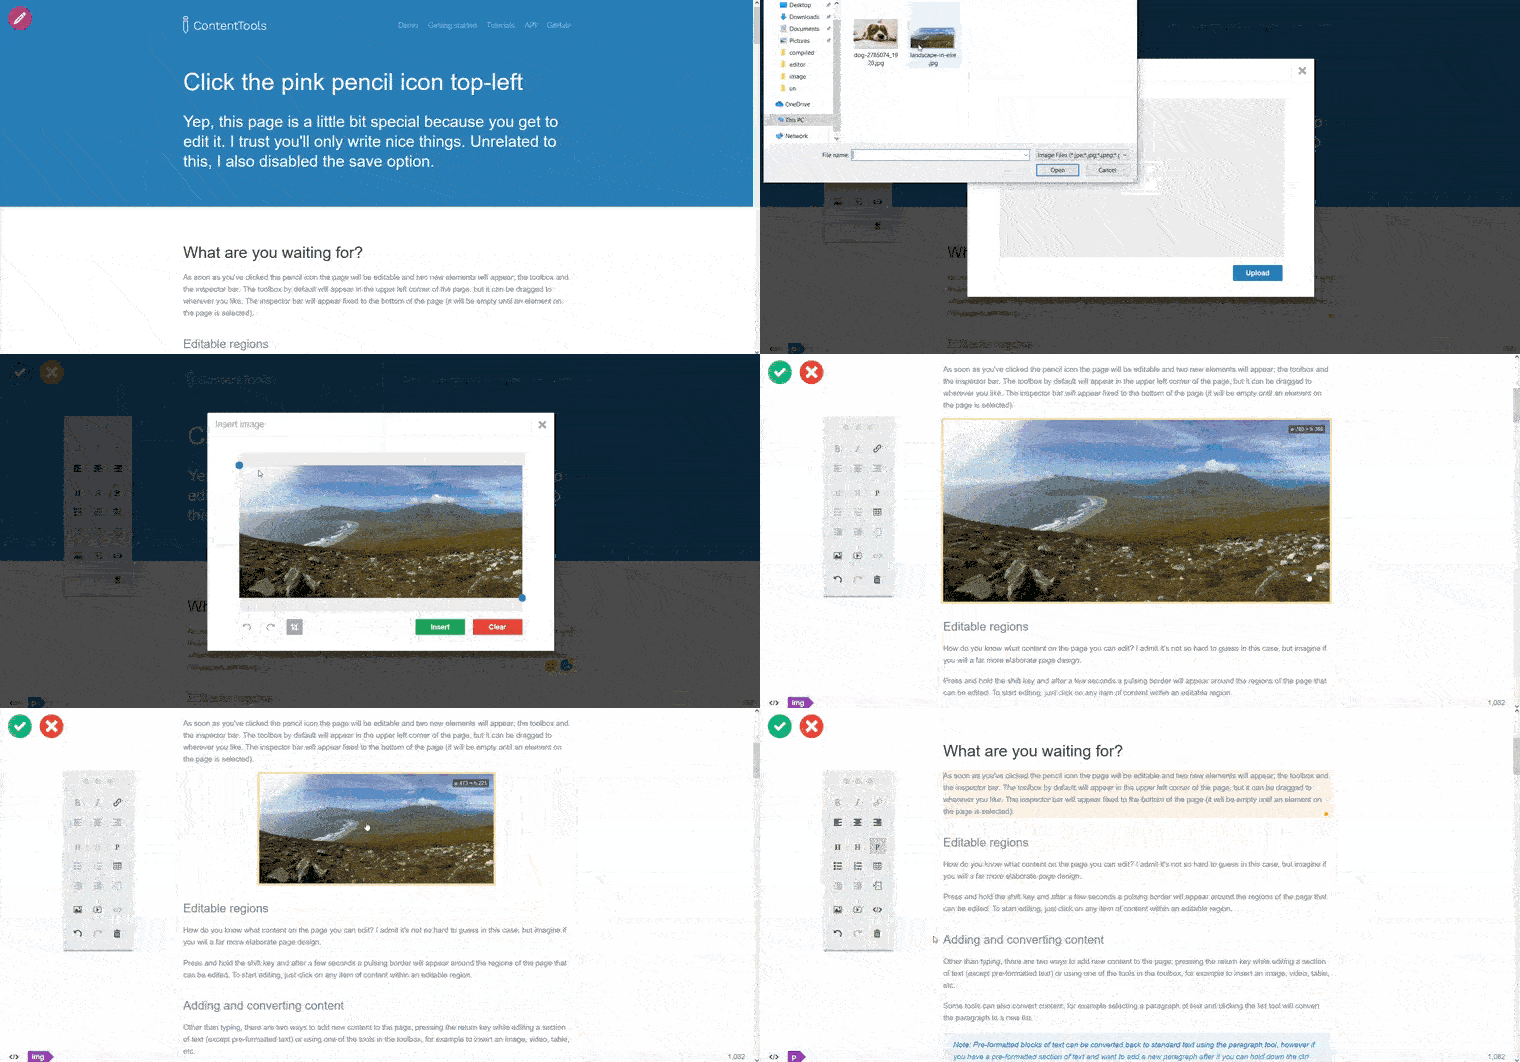
- There is only one way for inserting an image by using the uploading dialog:
- Click the Edit button to start editing the editable area of the page.
- Click the location where you want to insert the image.
- Click on the “Image” icon from the editor toolbox.
- Click on the “Upload” button from the appeared “Insert Image” modal.
- Choose the Image file.
- A preview of the chosen image will appear on the “Insert Image” modal, with buttons to rotate and crop the image which does not work by default as it needs a server-side API to support it.
- Click on “Insert” button
- Click and hold in any corner then drag to adjust the size as required. While you’re
resizing, the dimensions will be displayed in the top right hand corner of the
element.
- Images can be dragged to a new location by clicking in the center of the image
- and dragging.
- Click on the image.
- Click on the “Delete” icon from the editor toolbox or by pressing the
“delete” key.
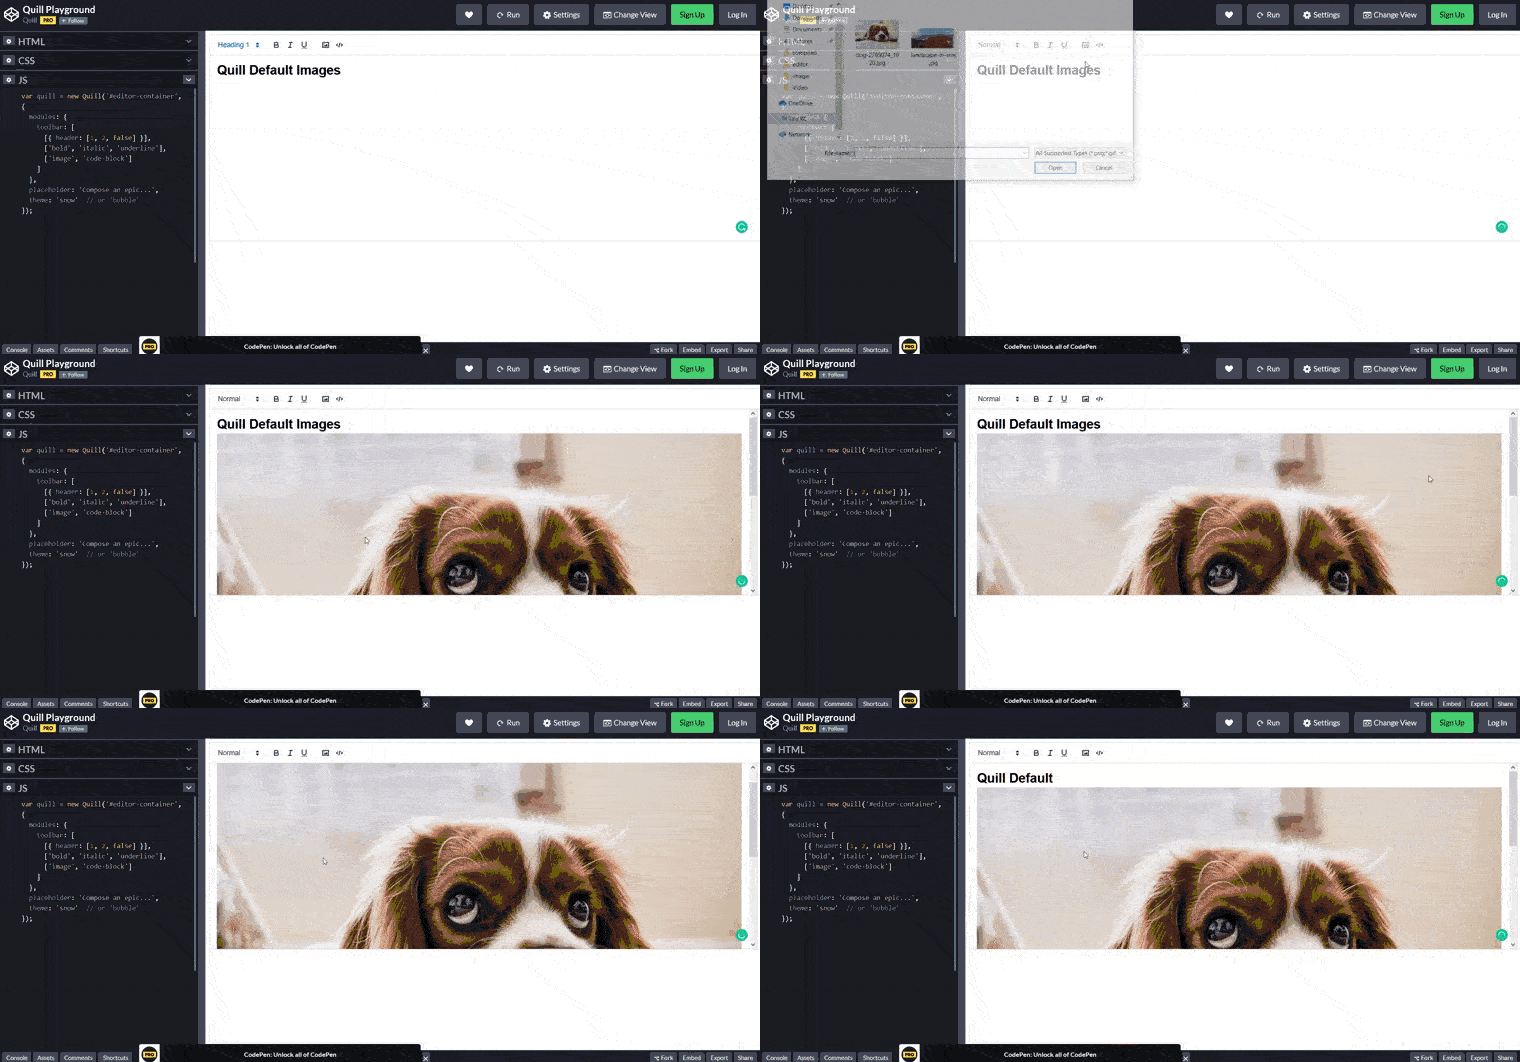
- There are multiple ways for inserting images at Quill:
- Uploading file from the device:
- Click the location in the editor where you want to insert the image.
- Click on the “image” icon from the editor toolbar.
- Choose the Image file.
- Pasting copied content from the web
- Pasting images by drag-n-drop
- Images can be dragged to a new location by clicking in the center of the image
- and dragging.
- Images can be deleted using the backspace or delete keyboard buttons.
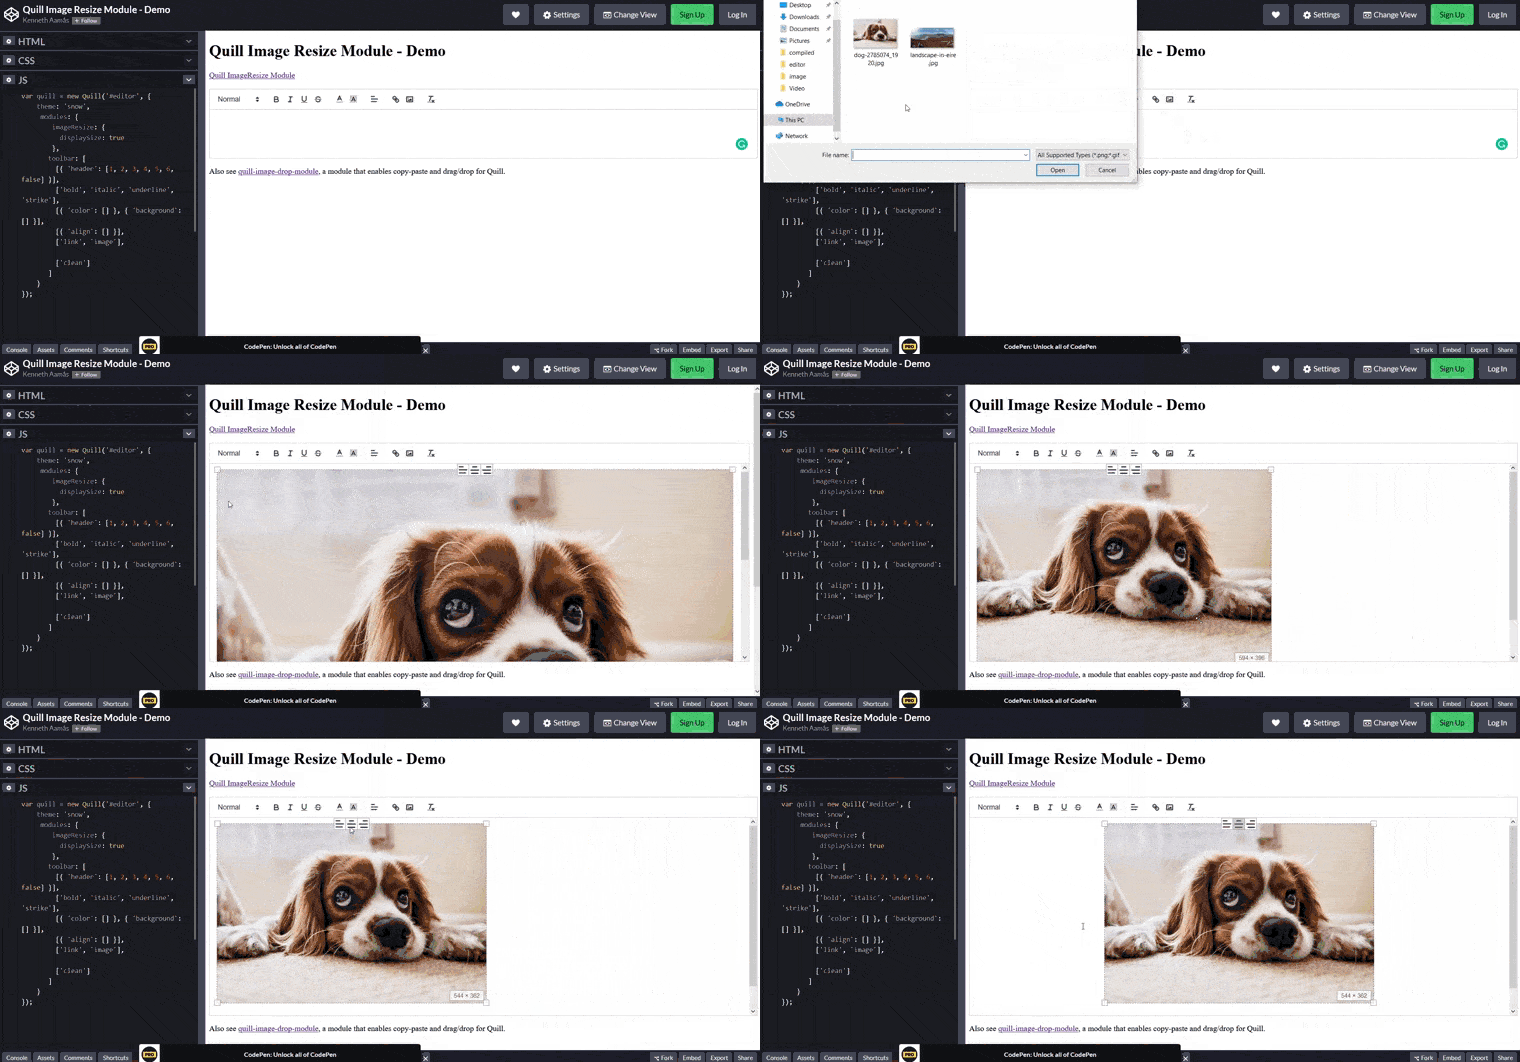
- There is unofficial modules that can be used to enable these features:
- Inserting images by “drag and drop”
- Change images Alignment
- Resize images
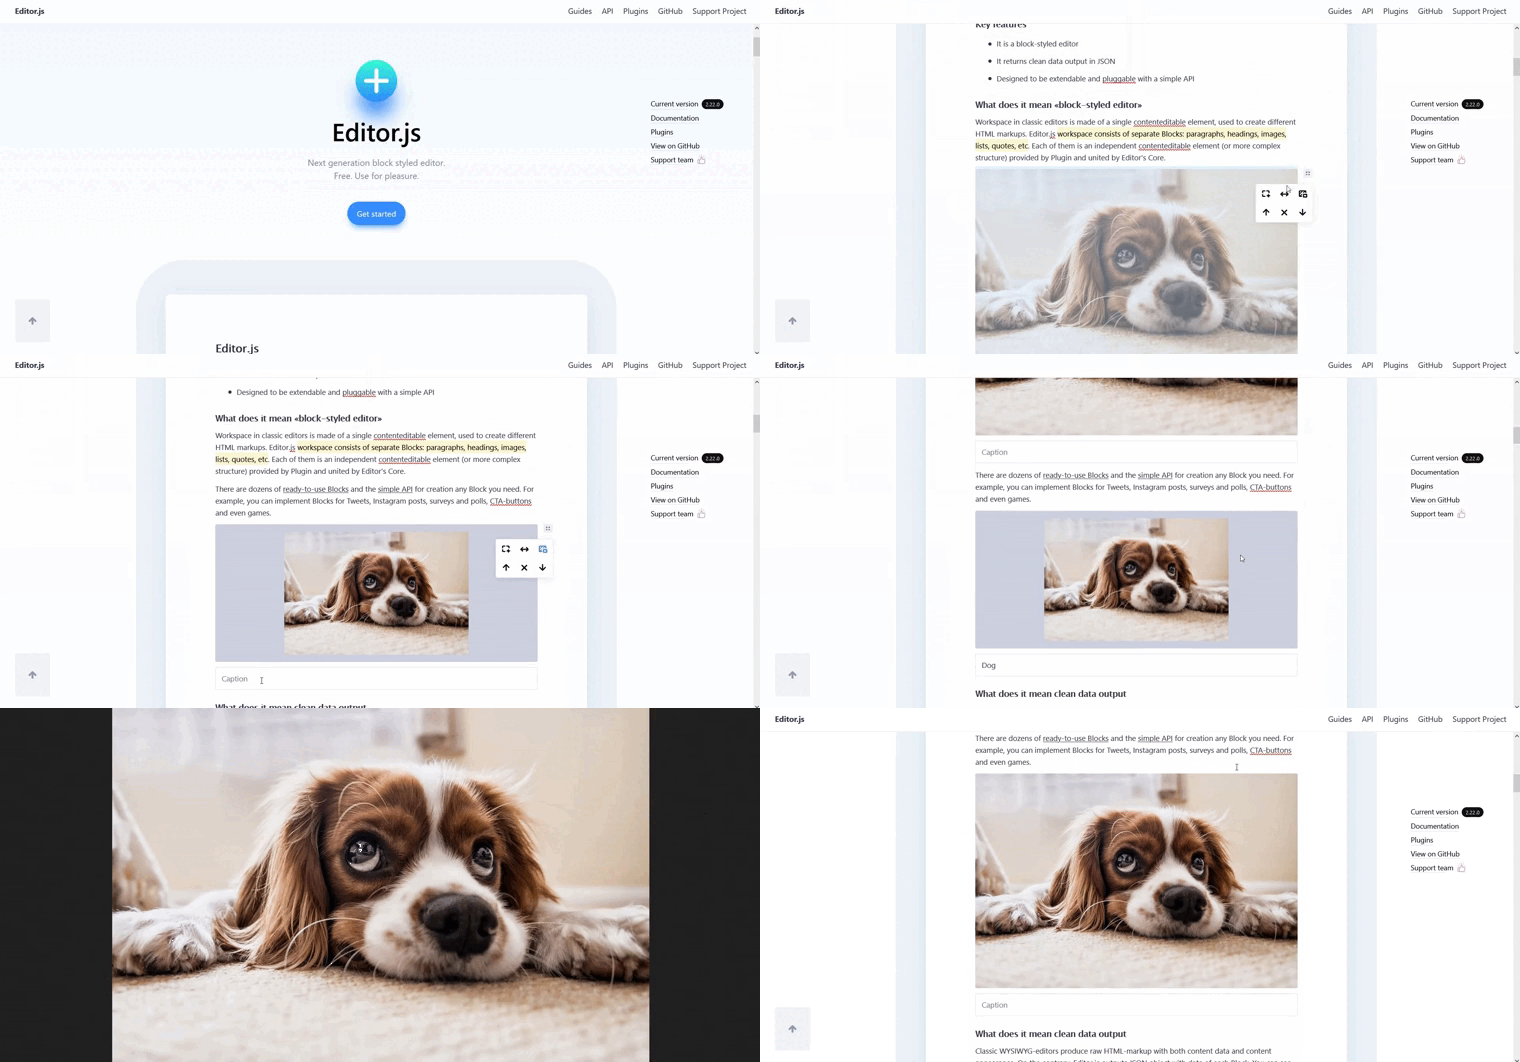
- There are multiple ways for inserting images at Editor.js:
- Uploading file from the device
- Pasting the image URL into the Editor
- Pasting copied content from the web
- Pasting images by drag-n-drop
Image consider as a block element, it moved between blocks by:
- Click on the “tune block” button.
- Click on the “up-arrow” icon or “down-arrow” icon.
Drag the image to another place, do not move it, it copies the image to the new
position without removing the original image.
Image can deleted by:
- Click on the “tune block” button.
- Click on the “delete” icon.
- Add border to the image
- Add a background to the image
- Stretch an image to the container’s full-width.
- Add Image Caption.
While it looks a good features but it is very specific, e.g you can choose to add a
background but you can’t specify the color of the background, you can choose to change the image width to be as the container’s full-width, but you can’t specify
or resize it to a custom width.
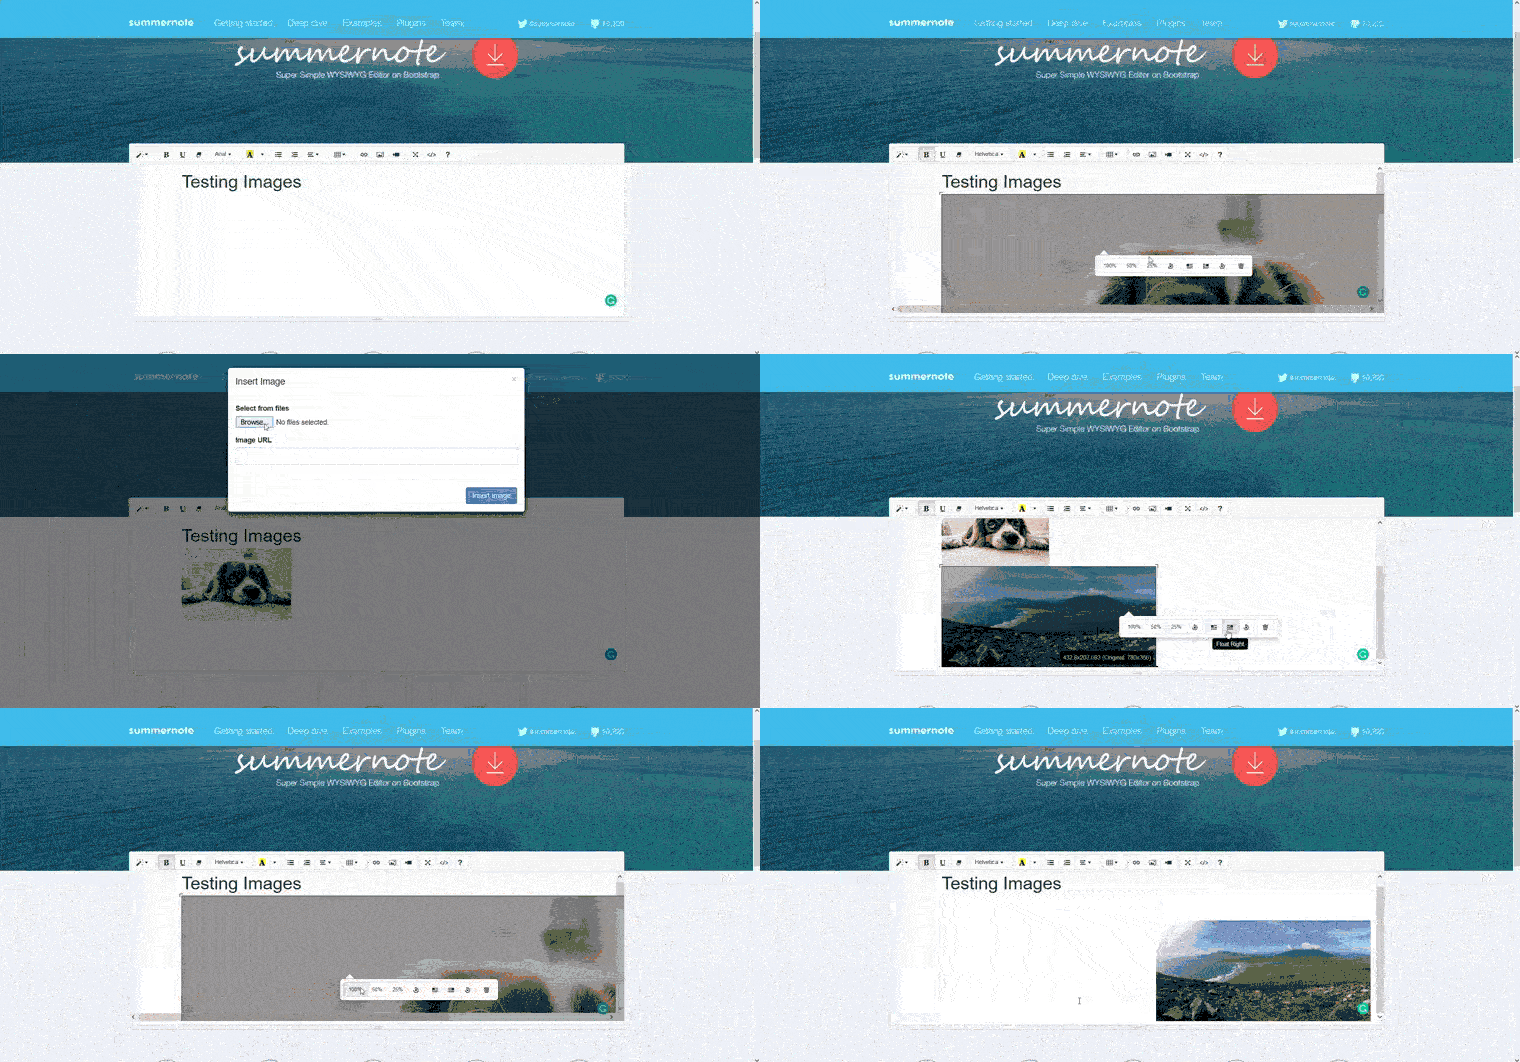
- There are multiple ways for inserting images at Summernote
-
- Uploading file from the device
- Using insert image URL dialog
- Pasting copied content from the web
- Pasting images by drag-n-drop
25% – 50% -100%
And has an option to restore the image original size Summernote also allows resizing an image by holding in any corner then dragging to adjust the size as required.Float Right – Float Left – Remove Float
- Click on the “Delete” button from the image edit popup.
- Using the backspace or delete keyboard buttons.
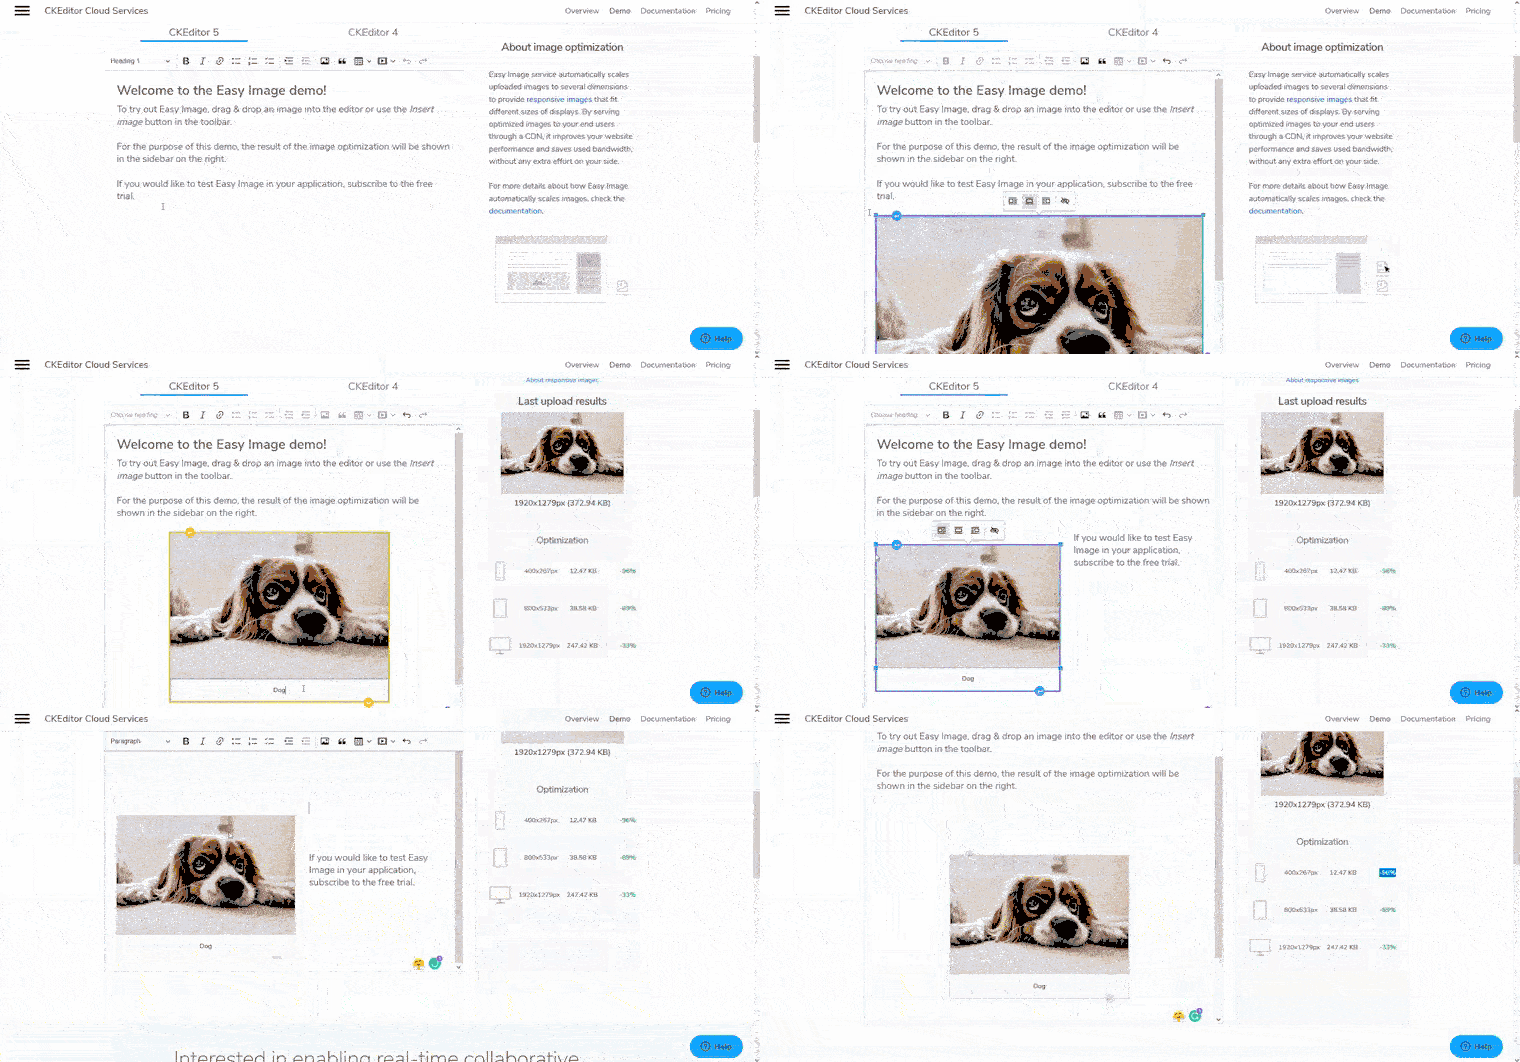
- There are multiple ways for inserting images at CKEditor:
-
- Uploading file from the device
- Pasting copied content from the web
- Pasting images by drag-n-drop
CKEditor allows resizing an image by holding in any corner then dragging to adjust the size as required.
CKEditor has an image edit popup that has three options for aligning an image:
Right aligned – Left aligned – Center
- Click on the image.
- “Add a caption” placeholder will appear under the image
- Write a caption
CKEditor image edit popup that has an option to set image alternative text.
To make it easy to separate images from its surrounding content, once you click
on an image, an “insert empty paragraph” button appears at the top and the
bottom of the image.
CKEditor automatically optimizes images before displaying it on the editor.
Images can be dragged to a new location by clicking in the center of the image
and dragging.
Images can be deleted using the backspace or delete keyboard buttons.
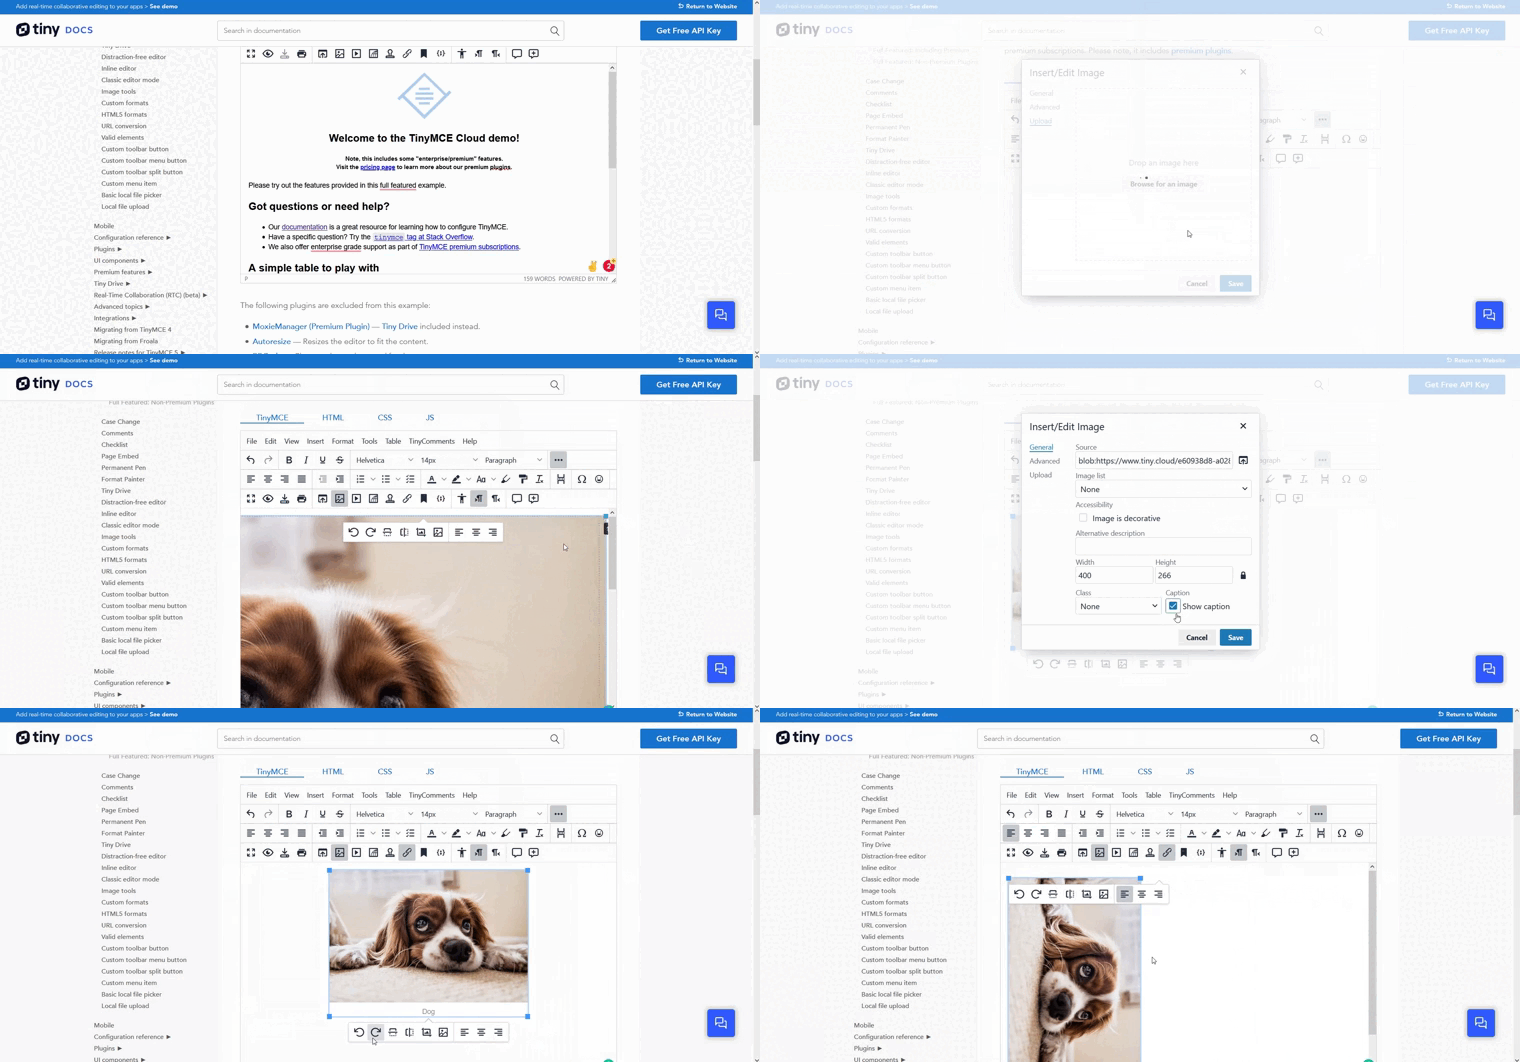
- There are multiple ways for inserting images at TinyMCE:
-
- Uploading file from the device
- Using insert image URL dialog
- Paste the image URL into the Editor
- Paste copied content from the web
- Paste images by drag-n-drop
- Paste multiple images by drag-n-drop
TinyMCE allows resizing an image by two ways:
- Holding in any corner then dragging to adjust the size as required.
- Enter a custom width or/and height in the TinyMCE’s “image option”
dialog
TinyMCE editor toolbar animation.TinyMCE’s “image option” dialog has three options for aligning an image:
Align Right – Align Left – Align Center
TinyMCE editor toolbar animation.You can add an image caption but first you should activate this option from
TinyMCE’s “image option” dialog, then
- Click on the image.
- “Add a caption” placeholder will appear under the image
- Write a caption
TinyMCE’s “image option” dialog has an option to set image alternative text.
From the “Upload” tab of TinyMCE’s “image option” dialog, you can
upload/drag-n-drop another image to replace the current one.
Images can be dragged to a new location by clicking in the center of the image
and dragging.
To add link to an image
- Select image
- Open the “Add link” dialog by one of these ways:
- Right click of the mouse and select “link” option
- Click on the add link icon from the editor toolbar
- Set the link and its options then click on the “Save” button
You can remove the link by:
- Select image
- Right click of the mouse and select “Remove link” option
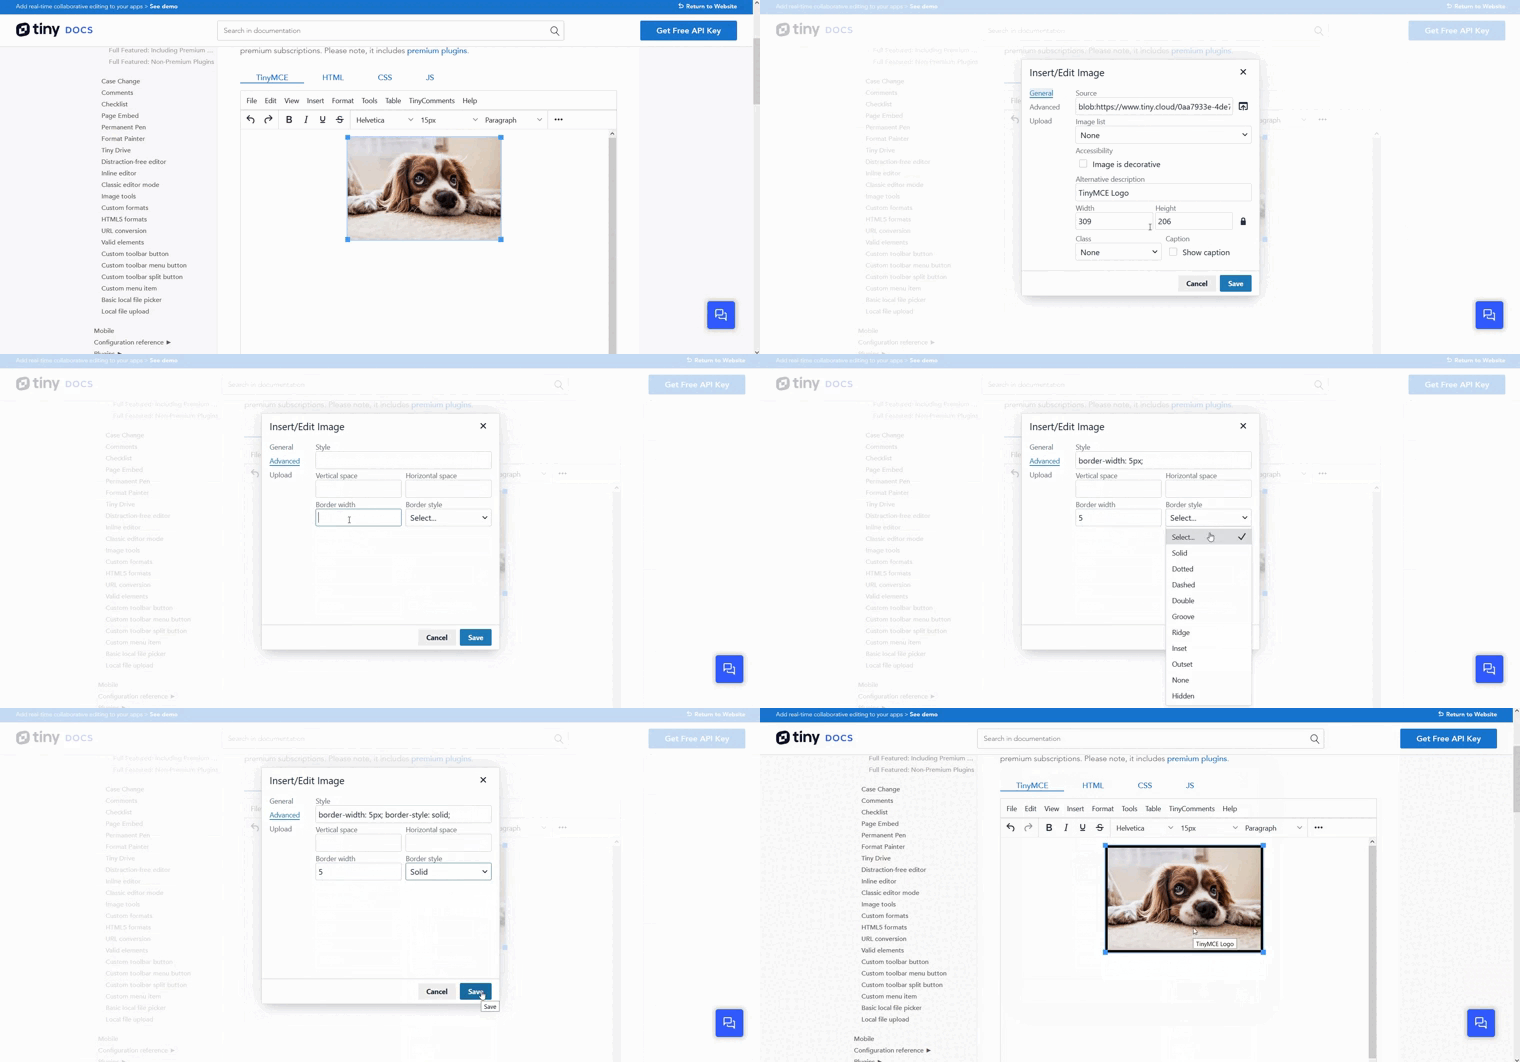
From the “Advanced” tab of TinyMCE’s “image option” dialog, you can set the
margin, border width and border type.
TinyMCE’s “image option” dialog has an option to set a CSS class to an image.
TinyMCE using an advanced image editor to allow these functionality:
- Rotates selected image 90 degrees clockwise.
- Rotates selected image 90 degrees counterclockwise
- Flips selected image vertically.
- Flips selected image horizontally.
- Crop image.
- Adjust image brightness.
- Adjust image sharpen.
- Adjust image contrast.
- Adjust image color level.
- Adjust Gamma.
- Invert image color.
Images can be deleted using the backspace or delete keyboard buttons.
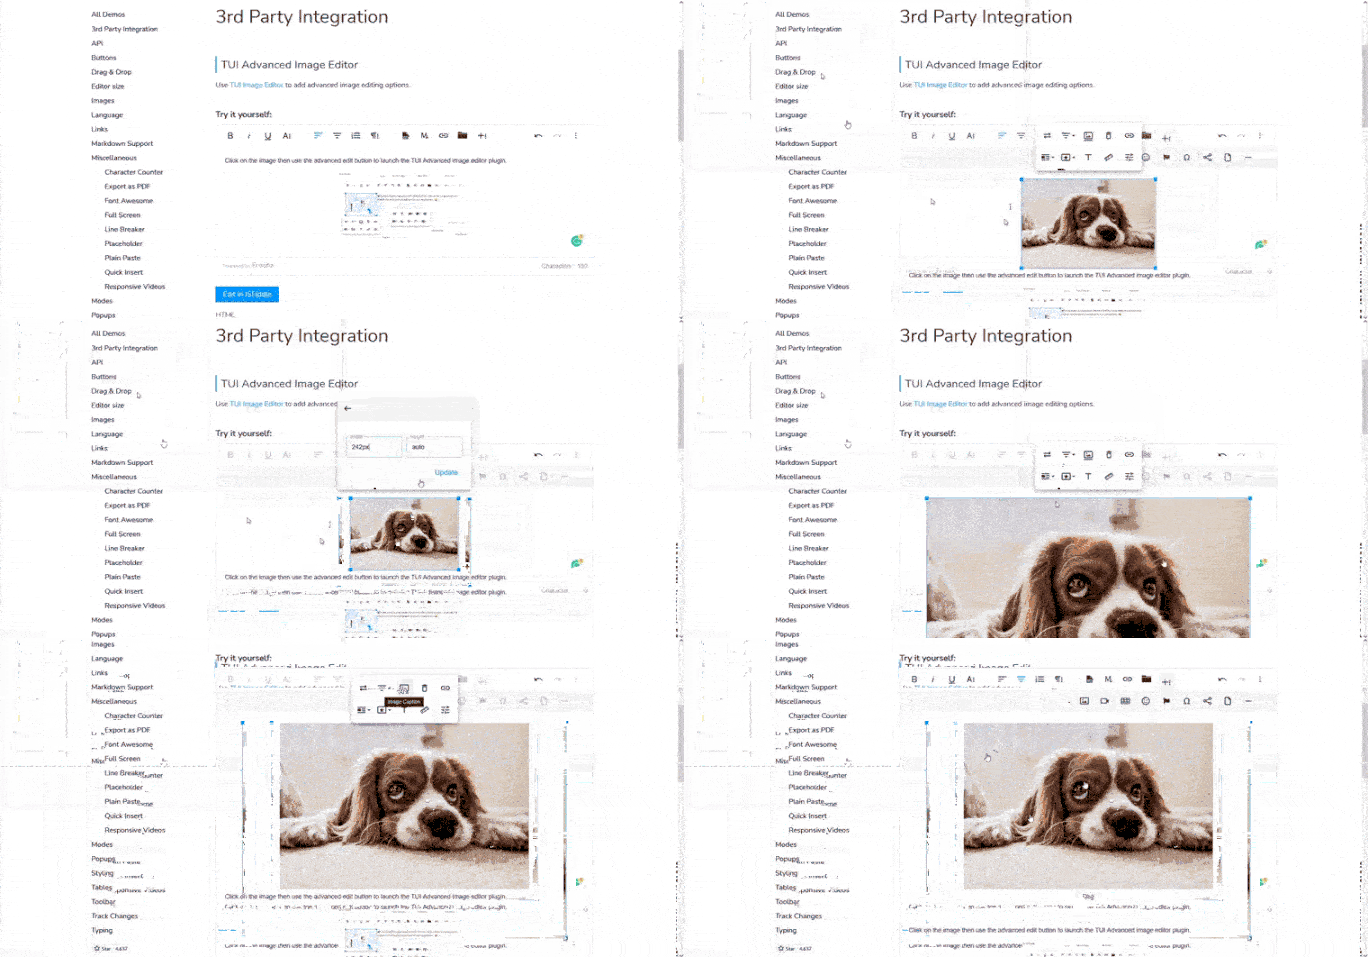 There are multiple ways for inserting images at
Froala WYSIWYG editor
:
There are multiple ways for inserting images at
Froala WYSIWYG editor
:
- Uploading file from the device
- Using insert image URL dialog
- Paste copied content from the web
- Paste images by drag-n-drop
Froala allows resizing an image by two ways:
- Holding in any corner then dragging to adjust the size as required.
- Enter a custom width or/and height in the Froala’s “image option” popup.
Froala’s “image option” popup has three options for aligning an image:
Align Right – Align Left – None
Froala’s “image option” popup has two options for aligning an image:
Inline – Break Text
You can add an image caption:
- Click on the image.
- Click on “Image Caption” button from Froala’s “image option” popup
- Write a caption
Froala’s “image option” popup has an option to set image alternative text.
Froala’s “image option” popup has a replace image button.
Froala allows you to define a custom style through CSS classes then you can
apply it to the image from the “Style” list on the Froala’s “image option” popup.
To make it easy to separate images from its surrounding content. hover over the
top or bottom of an image to reveal a break button. Click this button to add a line
break. This option is only available when there is not already a line above or
below the image.
Froala using TUI advanced image editor to add advanced image editing options
including but not limited to:
- Rotates selected image 90 degrees clockwise.
- Flips selected image vertically.
- Flips selected image horizontally.
- Crop image.
- Adjust image brightness.
- Adjust image sharpen.
- Rotates selected image 90 degrees clockwise.
- Adjust image contrast.
- Adjust image color level.
- Adjust Gamma.
- Invert image color.
Froala’s “image option” popup has a button to delete the image, in addition to
this, Images can be deleted using the backspace or delete keyboard buttons.
Froala | TinyMCE | ||||||||||||||||||||||||||||||||||||||||||||||||||||||||||||||||||||||||||||||||||||||||||||||||||
|---|---|---|---|---|---|---|---|---|---|---|---|---|---|---|---|---|---|---|---|---|---|---|---|---|---|---|---|---|---|---|---|---|---|---|---|---|---|---|---|---|---|---|---|---|---|---|---|---|---|---|---|---|---|---|---|---|---|---|---|---|---|---|---|---|---|---|---|---|---|---|---|---|---|---|---|---|---|---|---|---|---|---|---|---|---|---|---|---|---|---|---|---|---|---|---|---|---|---|---|
Image Display option | |||||||||||||||||||||||||||||||||||||||||||||||||||||||||||||||||||||||||||||||||||||||||||||||||||
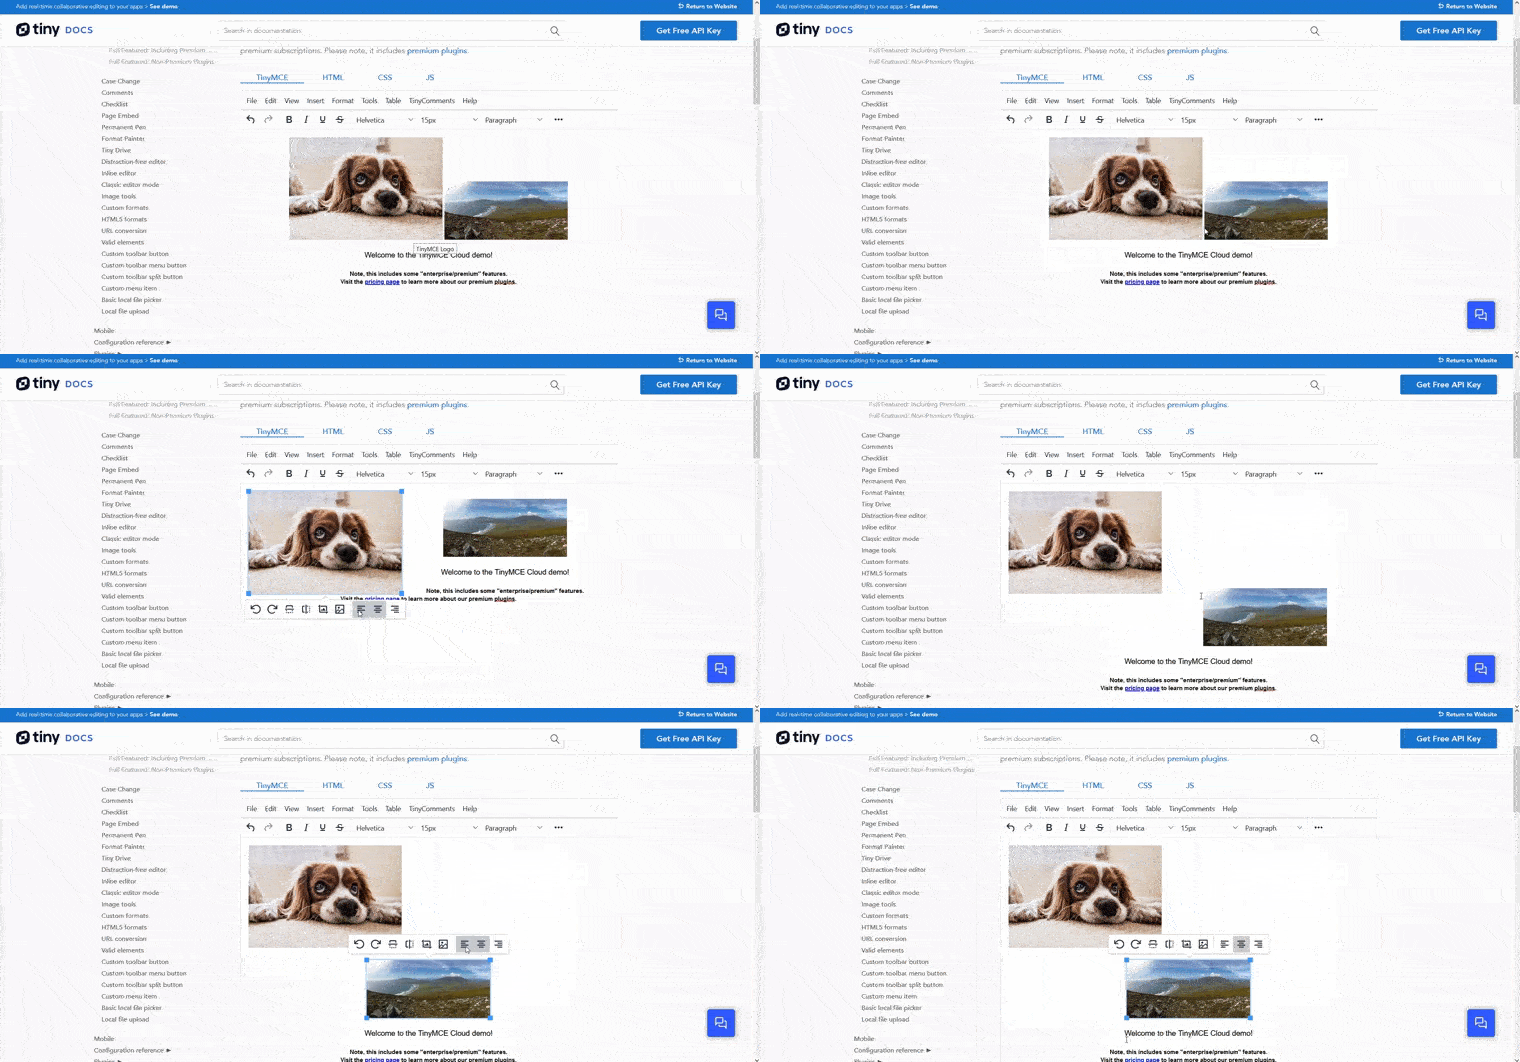
Froala not only has options to set image alignment using Float but also has an option to set the display to Inline or text break (block). This is a great feature especially if you are using the WYSIWYG editor to build a web page because float cause problems in webpage. 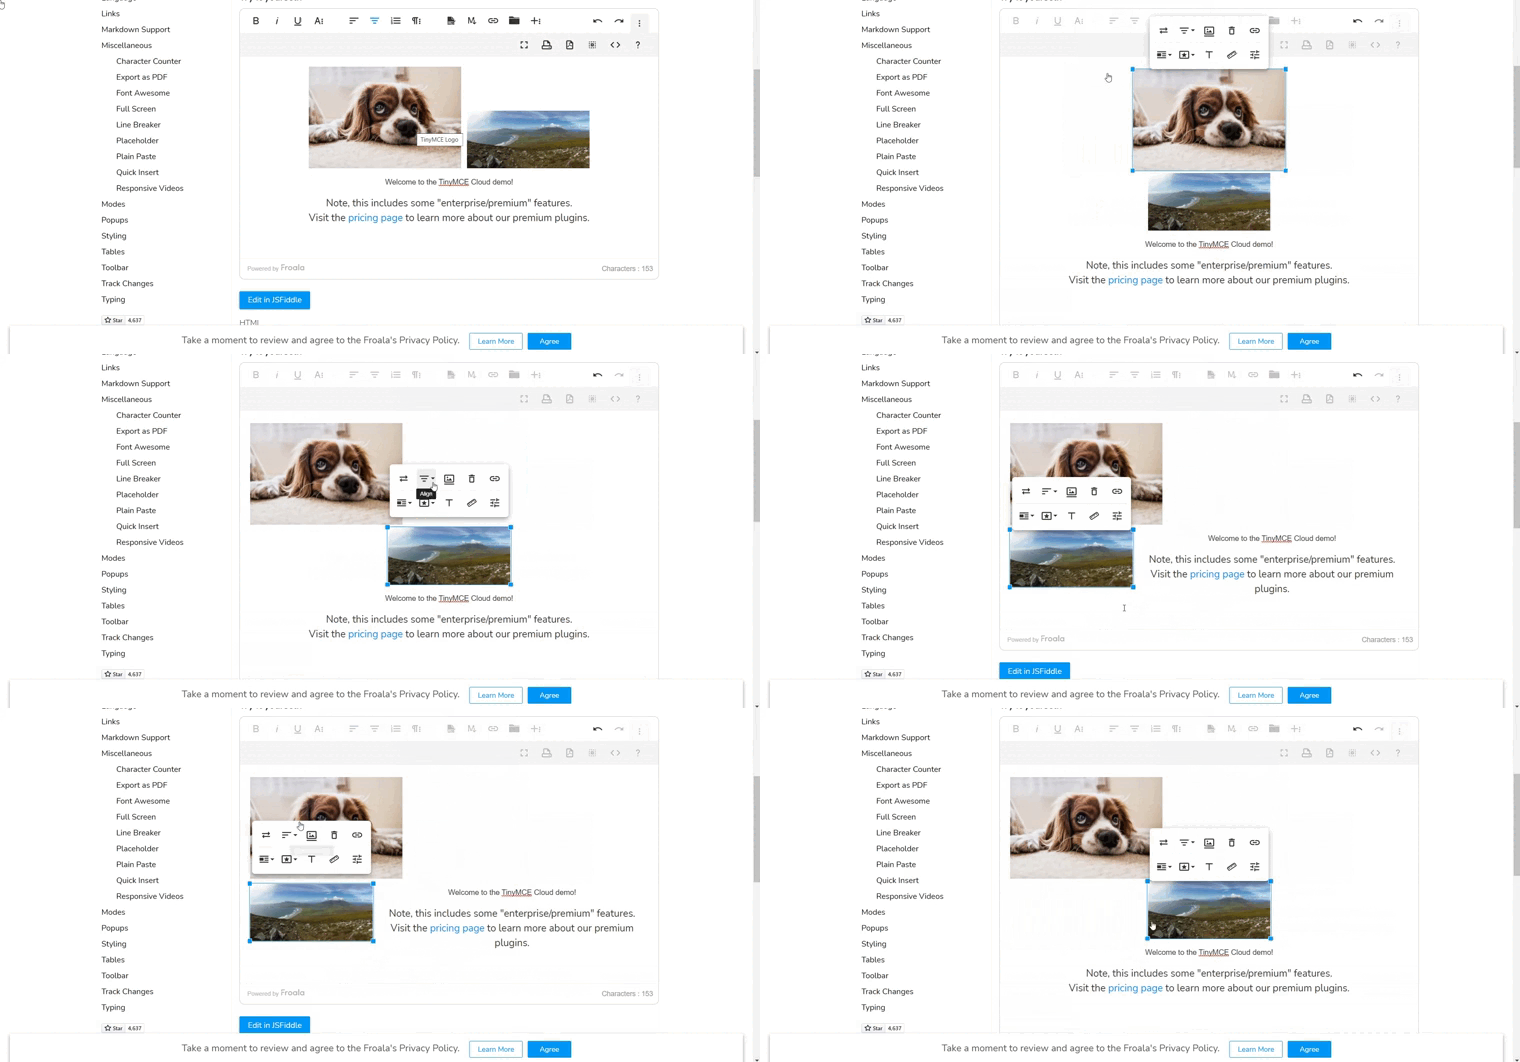
 | |||||||||||||||||||||||||||||||||||||||||||||||||||||||||||||||||||||||||||||||||||||||||||||||||||
The Winner is: | * | ||||||||||||||||||||||||||||||||||||||||||||||||||||||||||||||||||||||||||||||||||||||||||||||||||
Froala | TinyMCE | ||||||||||||||||||||||||||||||||||||||||||||||||||||||||||||||||||||||||||||||||||||||||||||||||||
|---|---|---|---|---|---|---|---|---|---|---|---|---|---|---|---|---|---|---|---|---|---|---|---|---|---|---|---|---|---|---|---|---|---|---|---|---|---|---|---|---|---|---|---|---|---|---|---|---|---|---|---|---|---|---|---|---|---|---|---|---|---|---|---|---|---|---|---|---|---|---|---|---|---|---|---|---|---|---|---|---|---|---|---|---|---|---|---|---|---|---|---|---|---|---|---|---|---|---|---|
Image Border and margin options | |||||||||||||||||||||||||||||||||||||||||||||||||||||||||||||||||||||||||||||||||||||||||||||||||||
TinyMCE provides an option to add an image border and another one for adding a margin. In Froala we could edit the style of the image using a predefined CSS classes, which then can be applied to an image from the “Style” list on the Froala’s “image option” popup. The TinyMCE option has the disadvantage of being applied directly on the html element, which is not good practice if you are using it on a web page. Froala has the advantage of using a Class instead of inline CSS, and it is easy to be applied from the “image option” popup. 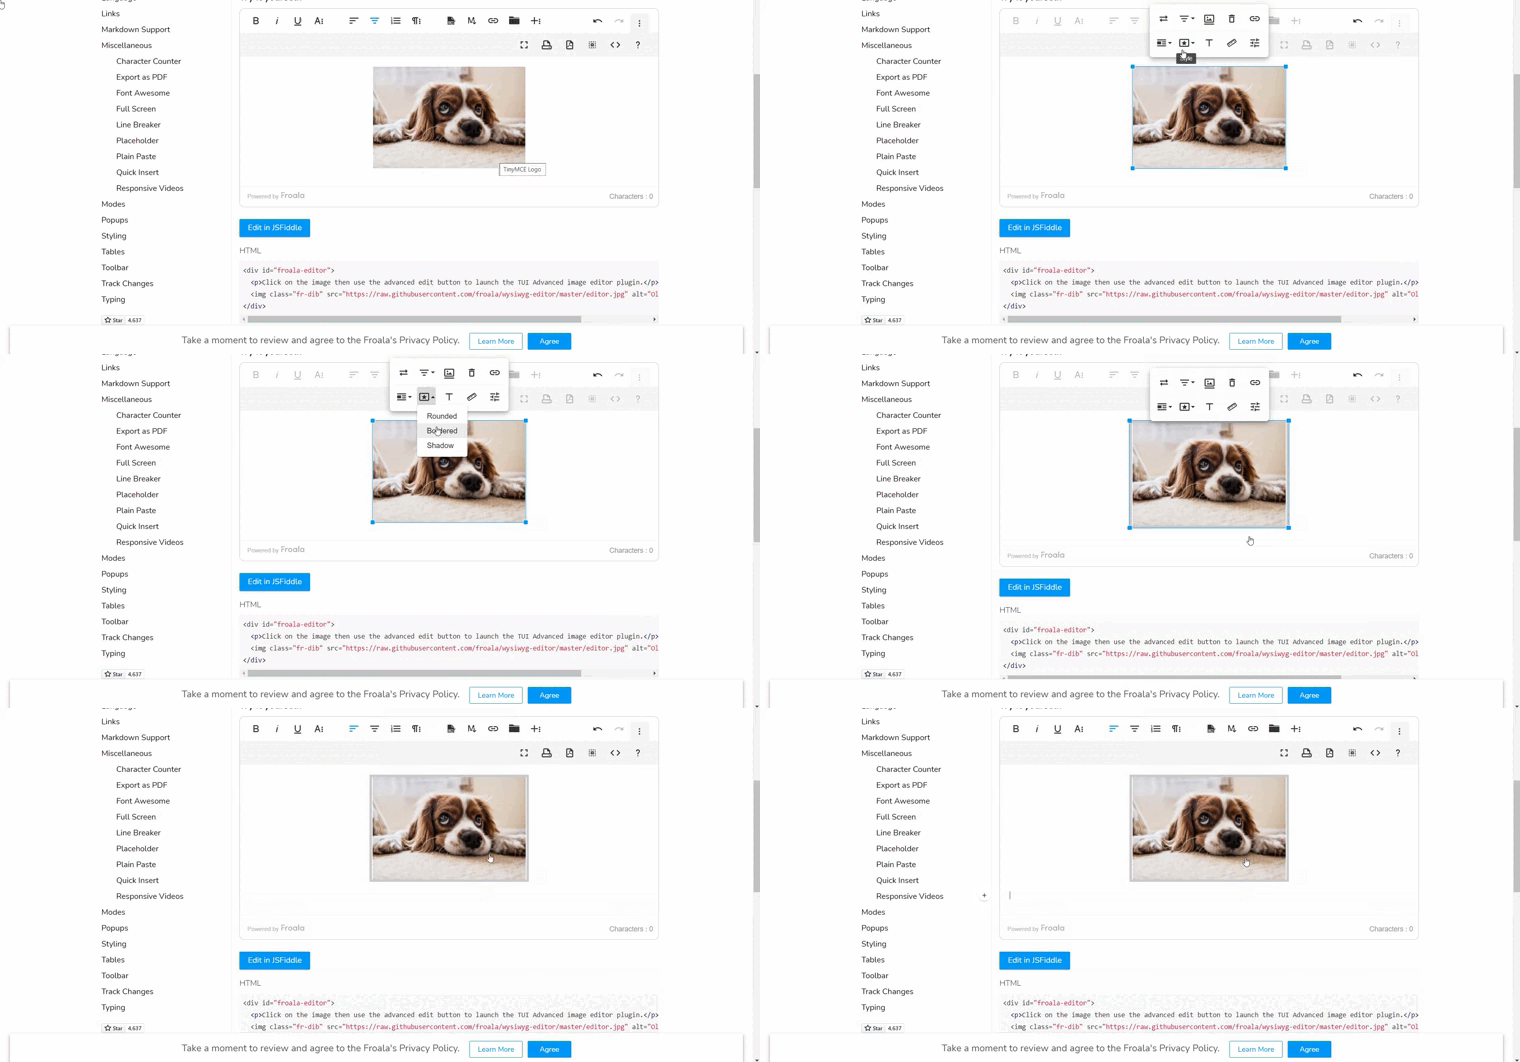
 | |||||||||||||||||||||||||||||||||||||||||||||||||||||||||||||||||||||||||||||||||||||||||||||||||||
The Winner is: | * | * | |||||||||||||||||||||||||||||||||||||||||||||||||||||||||||||||||||||||||||||||||||||||||||||||||