


Utilizing Froala HTML editor software in Angular standalone component with SSR disabled

Angular 17 gives preference to standalone components in new projects. This streamlines development by eliminating the requirement for NgModules and advocates for a cleaner, modular code design.
In this guide, we will demonstrate how to integrate the Froala WYSIWYG editor within a standalone Angular component, particularly when Server-Side Rendering (SSR) is disabled. The Froala editor is known for its rich text capabilities and user-friendly interface, making it perfect for applications needing powerful content management abilities. By integrating Froala, developers can provide users with a robust editing tool that improves the functionality and user experience of web applications.
Start Developing Your Angular App
For those who are fresh, make sure you have Angular CLI installed. The Angular CLI is a tool on the command line that allows you to initialize and manage Angular projects right from the terminal.
If it is not installed, run this command:
npm install -g @angular/cli
Now you can run “ng” commands in your terminal.
Run the following command to create a new Angular app:
ng new froala-standalone-app
This will prompt you with the following
- Which stylesheet format would you like to use? (CSS/SCSS/Sass/Less)
Select your preferred format. - Do you want to enable Server-Side Rendering (SSR) and Static Site Generation (SSG/Prerendering)? (y/N)
It inquires if you would like to configure your application to render pages on the server side and create static HTML files for your pages while building. Type “N” to turn off SSR.
Enabling SSR and SSG means that your Angular app will be more performant and SEO-friendly, but it also implies a different build and deployment process, as you’ll need to handle the server-side and static aspects of your application. We will not cover this in this tutorial.

After completing the prompts, an Angular project structure will be created in a new folder called “froala-standalone-app”. Navigate into the project directory using
cd froala-standalone-app
As of Angular 17, using the “ng new” command generates standalone components as the default. No longer will an “app.module.ts” exist.
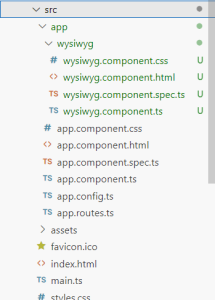
Open the folder in your IDE. The project structure is as follows:
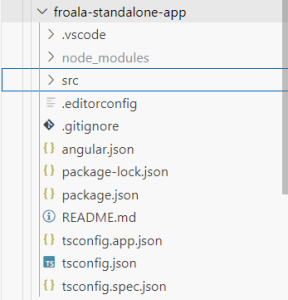
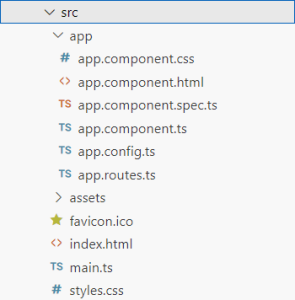
In the “src” folder, you will find the “index.html” file and the default component “app”.
Integrate Froala With a Standalone Angular App
Let’s create another component with the name “wysiwyg“ to use for integrating the Froala editor into your application:
ng generate component wysiwyg
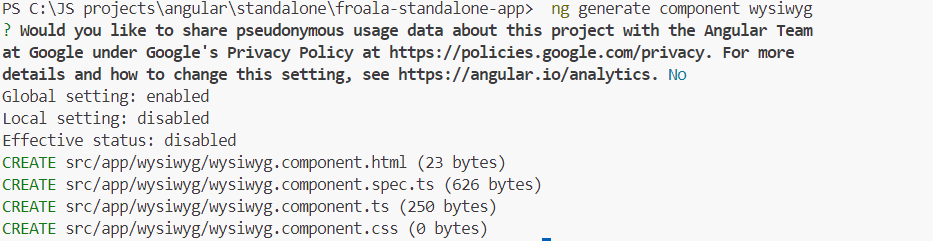
The command above will create a new folder, “wysiwyg”, inside the “src/app” directory. This folder will contain the following files for the “wysiwyg” component:
- wysiwyg.component.css
- wysiwyg.component.html
- wysiwyg.component.spec.ts
- wysiwyg.component.ts
Install the Froala Angular SDK
let’s install the Froala Angular rich-text editor into your Angular application. The Froala Angular SDK includes the essential tools and components to easily integrate the functionality of the Froala editor software into your standalone Angular components.
npm install angular-froala-wysiwyg

Once the installation is complete, the “angular-froala-wysiwyg” will appear in the “dependencies” section of the package.json file.
Styling the Froala Editor
Ensure that Froala’s style resources are included in your standalone Angular application. In angular.json, add Froala stylesheets under the “styles“ array.
"styles": [

"src/styles.css",

"node_modules/froala-editor/css/froala_editor.pkgd.min.css",

"node_modules/froala-editor/css/froala_style.min.css"

],
The “froala_editor.pkgd.min.css“ includes the styles for the core editor and all Froala plugins.
The “froala_style.min.css“ includes the styles needed for displaying the content created by the editor outside the editor.
Setting Up The Froala Component
Open the “wysiwyg.component.ts“ and import the FroalaEditorModule and FroalaViewModule components and add them to the “imports“ array
import { Component } from '@angular/core';
import { FroalaEditorModule, FroalaViewModule } from 'angular-froala-wysiwyg';

@Component({
  selector: 'app-wysiwyg',
  standalone: true,
  imports: [FroalaEditorModule, FroalaViewModule],
  templateUrl: './wysiwyg.component.html',
  styleUrl: './wysiwyg.component.css'
})
export class WysiwygComponent {

}
Navigate to “wysiwyg.component.html” and add
<div [froalaEditor]>Hello, Froala!</div>
Now we can use “wysiwyg“ component to display the Froala editor in any other component in your Angular application.
Displaying Froala on the main page
Let’s add “wysiwyg“ component to the “app” component to display Froala on the main page.
Open “app.component.ts“ and import WysiwygComponent
import { Component } from '@angular/core';
import { CommonModule } from '@angular/common';
import { RouterOutlet } from '@angular/router';

import { WysiwygComponent } from './wysiwyg/wysiwyg.component';

@Component({
  selector: 'app-root',
  standalone: true,
  imports: [CommonModule, RouterOutlet, WysiwygComponent],
  templateUrl: './app.component.html',
  styleUrl: './app.component.css'
})
export class AppComponent {
  title = 'froala-standalone-app';
}
Open “app.component.html“ and add the following code to include the “wysiwyg” component:
<app-wysiwyg></app-wysiwyg>
This code will render the Froala editor on the main page of your Angular application.
Start your App
Next, you can serve the app by running `ng serve`. This command compiles the application and serves it locally, typically on `http://localhost:4200/`. You can now access your Angular app in a web browser to see the initial application setup.
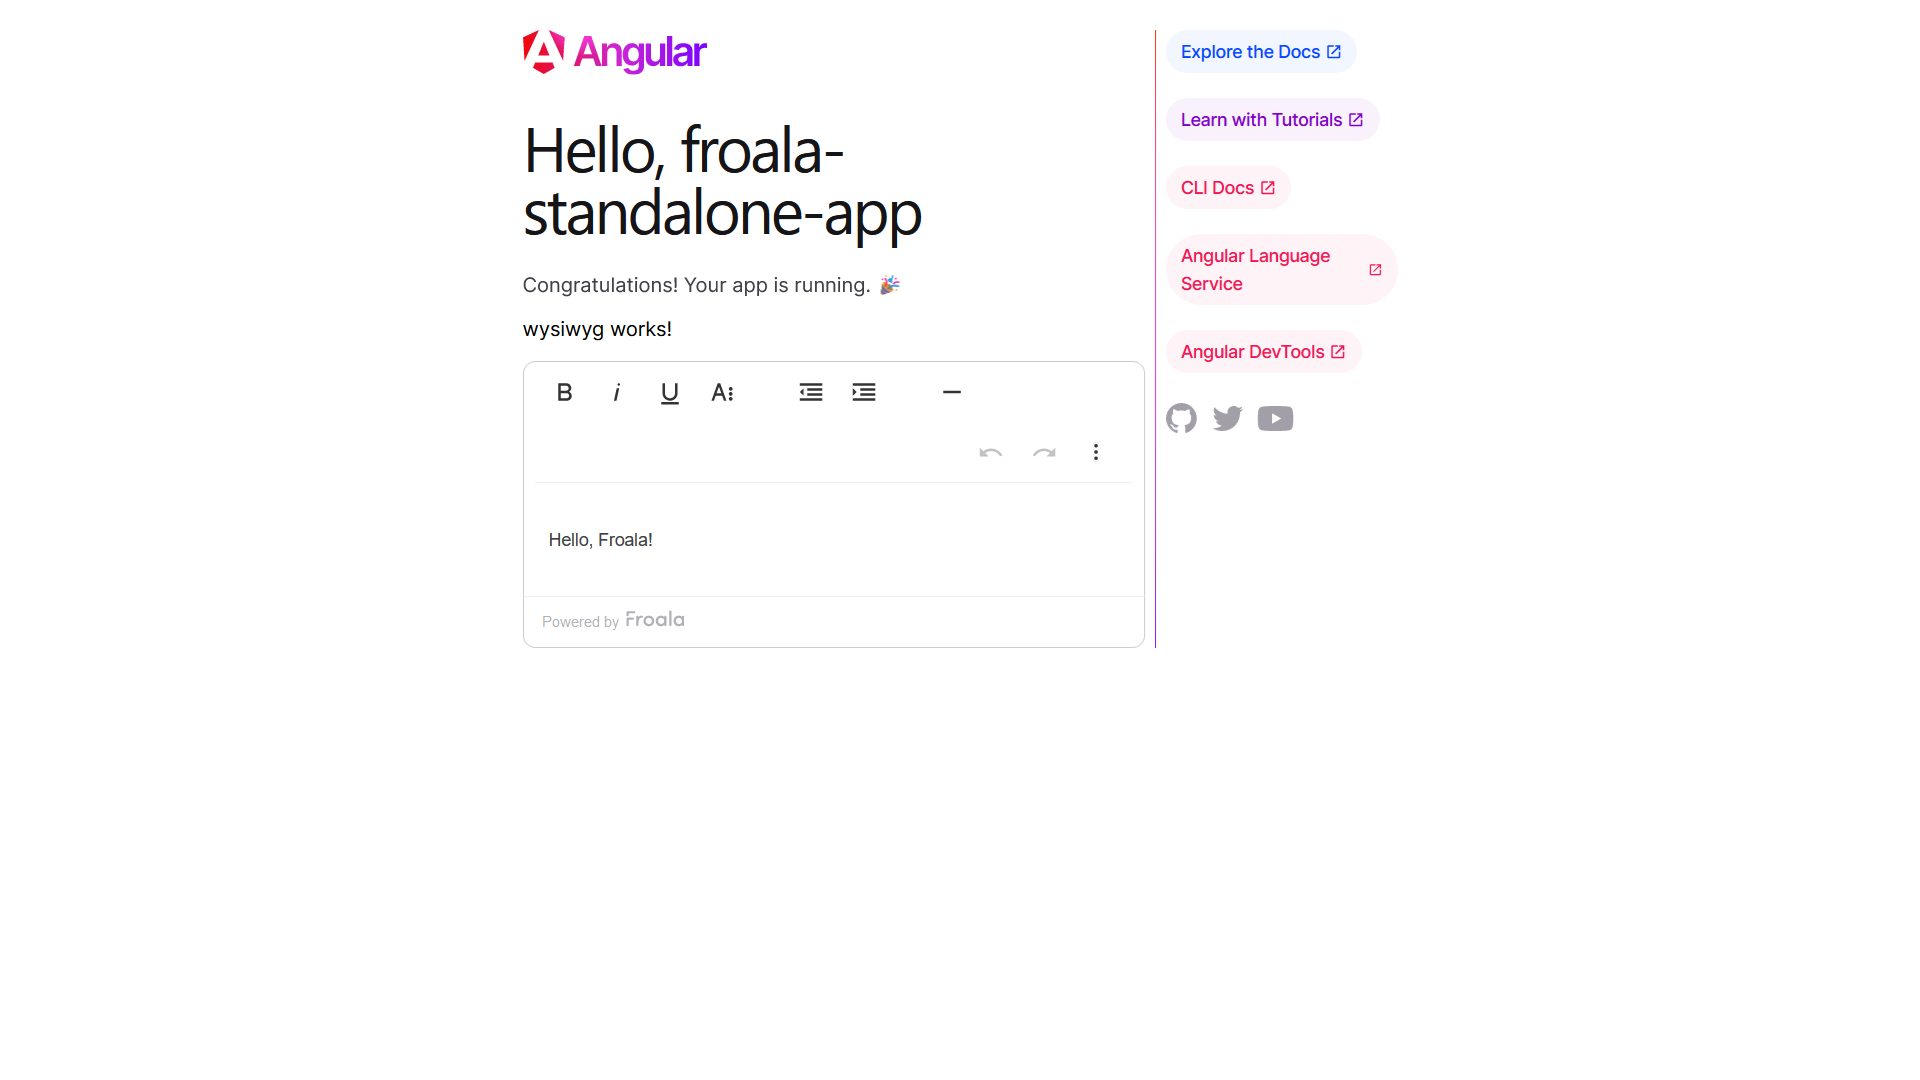
The editor will be displayed on the homepage.
Including Froala Plugins
You may notice that Froala is displayed with just its basic features. That’s because we haven’t included the plugin’s JavaScript files. Open the “wysiwyg.component.ts“ and add
import 'froala-editor/js/plugins.pkgd.min.js';
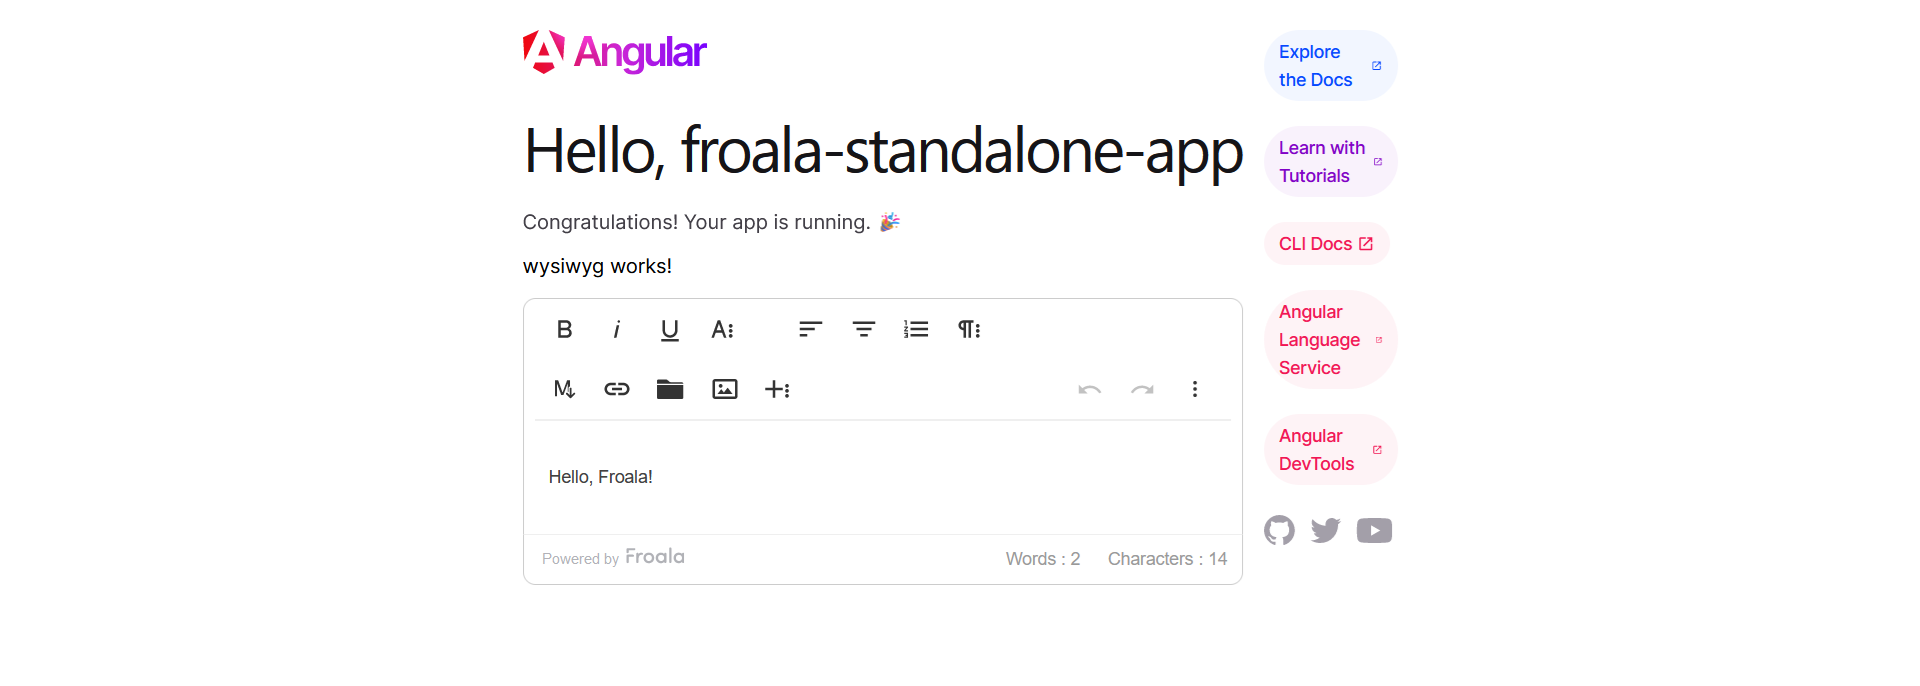
This will include all Froala default plugins. Return to `http://localhost:4200/`, you will find the full-featured editor is loaded.
If you are using just a few features, you can include the JavaScript files for the required plugins instead of “plugins.pkgd.min.js”. For example:
// import 'froala-editor/js/plugins.pkgd.min.js';

// Import plugins one by one

import 'froala-editor/js/plugins/align.min.js';

import 'froala-editor/js/plugins/image.min.js';
Customizing the Editor Options, Initial Content, and Setup Events
By adjusting the options, setting the initial content, and defining event handlers, you can create a unique and personalized editing experience for your users based on your specific requirements.
Inside the “WysiwygComponent“ class, define:
- A string with the editor’s initial HTML content
- An array containing the customized options, including the “events” option where you can set your editor events handlers.
import { Component } from '@angular/core';
import { FroalaEditorModule, FroalaViewModule } from 'angular-froala-wysiwyg';
// import 'froala-editor/js/plugins.pkgd.min.js';
// Import plugins one by one
import 'froala-editor/js/plugins/align.min.js';
import 'froala-editor/js/plugins/image.min.js';

@Component({
  selector: 'app-wysiwyg',
  standalone: true,
  imports: [FroalaEditorModule, FroalaViewModule],
  templateUrl: './wysiwyg.component.html',
  styleUrl: './wysiwyg.component.css'
})
export class WysiwygComponent {

  editorContent = 'Learn more about <a href="https://awsstage.froala.com/angular-rich-text-editor/">Froala Angular WYSIWYG Editor</a>';

  public options: Object = {

    toolbarButtons: ['alignRight', 'bold', 'insertImage'],

    events: {
      'froalaEditor.contentChanged': function () {
        console.log('Content updated!');
      },
    },
  };

}
Then, open “app.component.html“ and modify it
<div [froalaEditor]="options" [(froalaModel)]="editorContent"></div>
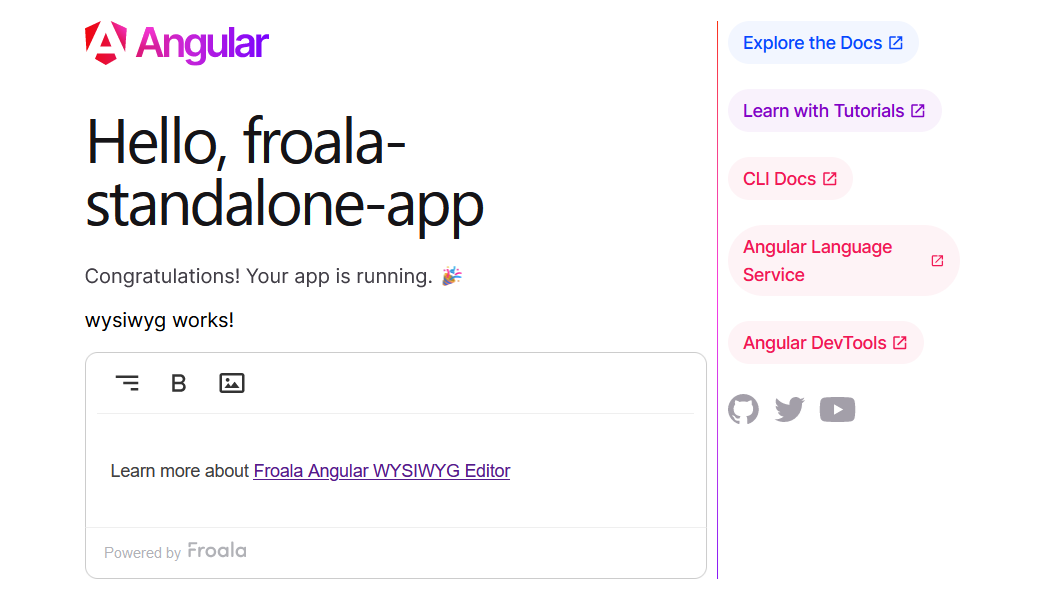
Now the editor should look like
Using the editor instance from the callback arguments, you can call editor methods as described in the method docs.
Using the editor content outside the editor
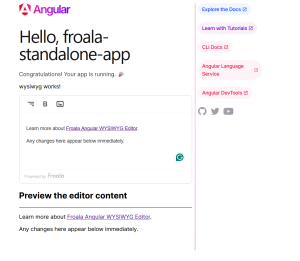
To display the editor content in other elements in your application, you can utilize the froalaView component and the variable you have passed to the froalaModel attribute of the froalaEditor component. Open the “app.component.html“ file and modify it to
<p>wysiwyg works!</p>

<div [froalaEditor]="options" [(froalaModel)]="editorContent"></div>

<h2>Preview the editor content </h2>

<hr>

<div [froalaView]="editorContent"></div>
Now open your homepage, start editing the editor content, and notice your changes appear outside it too.
Conclusion
By integrating the Froala HTML editor software in the Angular standalone component using the Angular Froala SDK, you can enhance the editing experience and functionality in your application.
In this article, we explored how to integrate the Froala editor into a standalone Angular component while Server-Side Rendering is disabled. By following our step-by-step guide, you learned how to create a new Angular app, set up the Froala Angular rich-text editor, customize editor options, and display editor content outside the editor.
Now that you have the tools to enhance your Angular application with the Froala editor, why not give it a try? Start creating dynamic and interactive content for your users today by incorporating this powerful editor into your projects. Happy coding!


No comment yet, add your voice below!